Thinking About New Stucco? Here's the Real Deal
So, you're considering new stucco for your home here in Murrieta. Maybe you're building an addition, or you're looking to completely re-side your place. It's a great choice for our climate, no doubt. But before you jump in, you need to know what you're getting into. Stucco isn't just slapping some mud on a wall; it's a multi-layered system designed to protect your home for decades. And while some folks like to DIY everything, there are definitely parts of a stucco job where you're better off leaving it to the experts, especially if you want it done right the first time.
Before the First Bag of Mix is Opened
Preparation is everything in stucco. You can't just skip steps and expect a good outcome. First, you've got to make sure your wall sheathing is solid and properly installed. Any rot or damage needs to be fixed. This isn't just about stucco; it's about the integrity of your whole wall. Then comes the weather barrier. This is crucial, especially with our occasional heavy rains and the relentless sun. You'll typically see two layers of Grade D building paper or a modern synthetic wrap. This is your first line of defense against moisture getting into your wall assembly. If you're tackling this yourself, pay close attention to overlapping the paper correctly, shingle-style, so water sheds down and out. Don't skimp on this part; it's non-negotiable for preventing future headaches like mold or dry rot.
Next, you'll install weep screeds at the bottom of your walls, casing beads around windows and doors, and control joints. These aren't just for looks; they manage water and allow for movement in the stucco without cracking. Getting these details right, especially the flashing around openings, is critical. This is where I often see DIYers run into trouble. If water gets behind your stucco, you're in for a world of pain down the road. For Murrieta homes, especially those in areas like Bear Creek with varied elevations, proper drainage and moisture management are paramount.
During the Stucco Application: When to Call a Pro
Alright, so you've got your lath up – usually galvanized metal lath, sometimes fiberglass mesh depending on the system. Now comes the actual stucco. This is where the skill really comes into play. Traditional stucco is typically a three-coat system: scratch coat, brown coat, and finish coat. Each coat has a specific purpose and needs to be applied correctly.
- Scratch Coat: This is the first layer, applied directly to the lath. It's pushed into the mesh to create a mechanical bond. It gets 'scratched' horizontally to provide a key for the next coat. You need the right consistency and thickness.
- Brown Coat: This goes over the scratch coat, leveling out the surface and bringing it to its final plane. This is where you get your walls perfectly flat and plumb. This takes a lot of practice and a good eye.
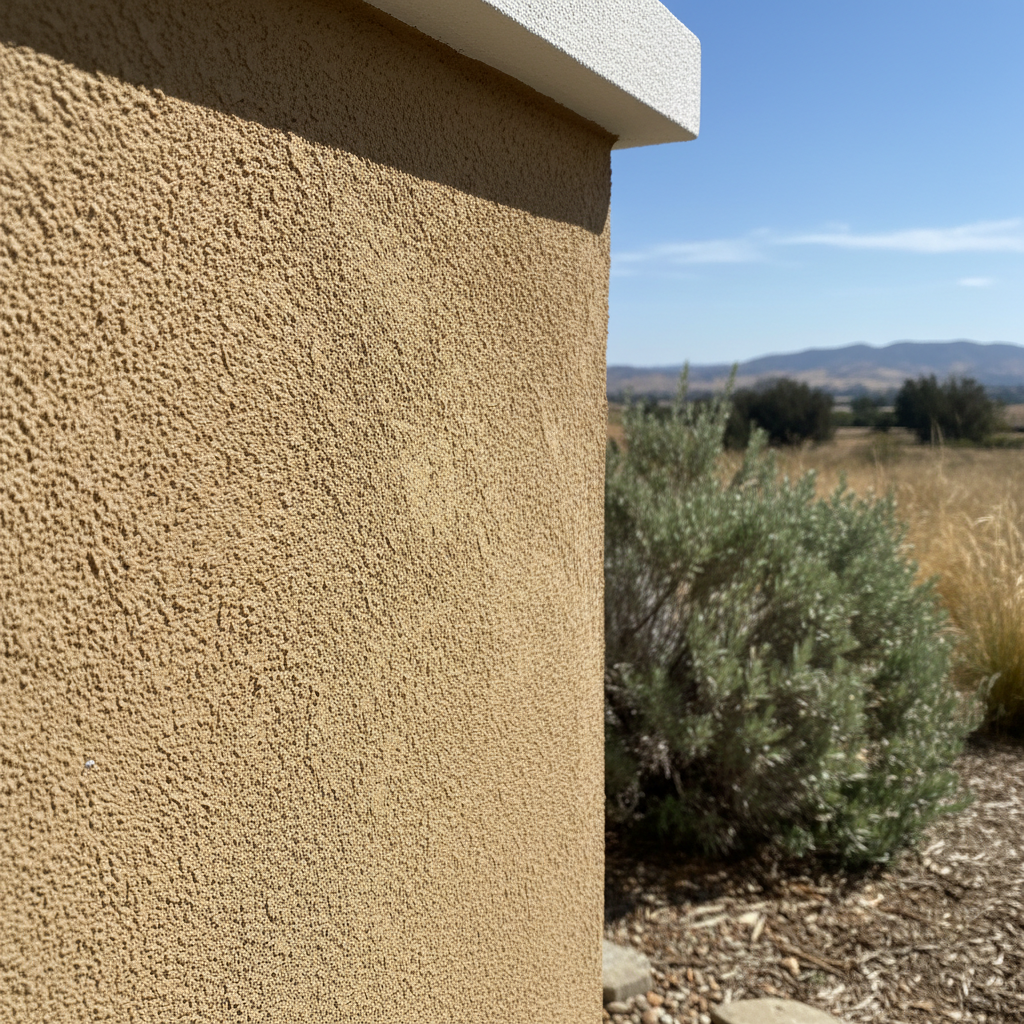
- Finish Coat: This is what everyone sees. It's thinner, comes in various textures and colors, and needs to be applied smoothly and evenly. This is definitely not a beginner's job if you want a professional-looking finish. Getting a consistent texture across a large wall is incredibly difficult without experience.
Now, can you mix the stucco yourself? Sure, you can rent a mixer. Can you apply the scratch coat? Maybe, if you're patient and don't mind a lot of trial and error. But for the brown coat and especially the finish coat, I'm telling you, this is where you'll see the difference between a DIY job and a professional one. We've been doing this for years at Murrieta Stucco & Plastering, and it still takes a keen eye and steady hand to get those perfect, seamless finishes. If you want a smooth, consistent look, or a specific texture like a Santa Barbara or a dash finish, trust me, you'll want a pro.
After the Stucco is On: Curing and Maintenance
Once the stucco is on, your job isn't quite over. Proper curing is essential for strength and durability. Stucco needs to be kept damp for several days after application, especially during our hot Murrieta summers. This allows the cement to hydrate properly and prevents premature cracking. You'll need to mist it with water, sometimes multiple times a day, depending on the temperature and humidity. This isn't hard, but it's important not to forget it.
Long-term maintenance for stucco is pretty straightforward. Keep it clean, wash it down occasionally, and inspect it for any hairline cracks. Most small cracks are normal and can be sealed. Larger cracks or areas where the stucco is delaminating need professional attention. Don't let small issues turn into big ones. A well-installed and maintained stucco system will protect your home and look great for decades.
Ultimately, while you can certainly handle some of the prep work like demo or even the weather barrier if you're meticulous, when it comes to the actual application of the stucco, especially the brown and finish coats, you're usually better off bringing in someone who does it day in and day out. It's an investment in your home, and you want it done right.
```